
Above: All items necessary to make silicone climbing hold molds
Lets begin!
Wait! A caution before we begin: Molding a hold can be very messy and rewarding. The foam is very nasty and wants to be in your lungs. Wear a respirator or at least a mask to keep from breathing it. Eye protection is also encouraged cause it is quite a trick to get foam particles out of your eye.
Okay lets begin! After purchasing all of the items in the above picture, find yourself a well ventilated room or work outside through the whole process if possible.
Start with a foam block. The ones we are able to get at Michael's come in roughly 9" x 4" x 3" blocks. A pack of 6 will cost you $4.50 and you can find various quantities at Walmart or any craft store.
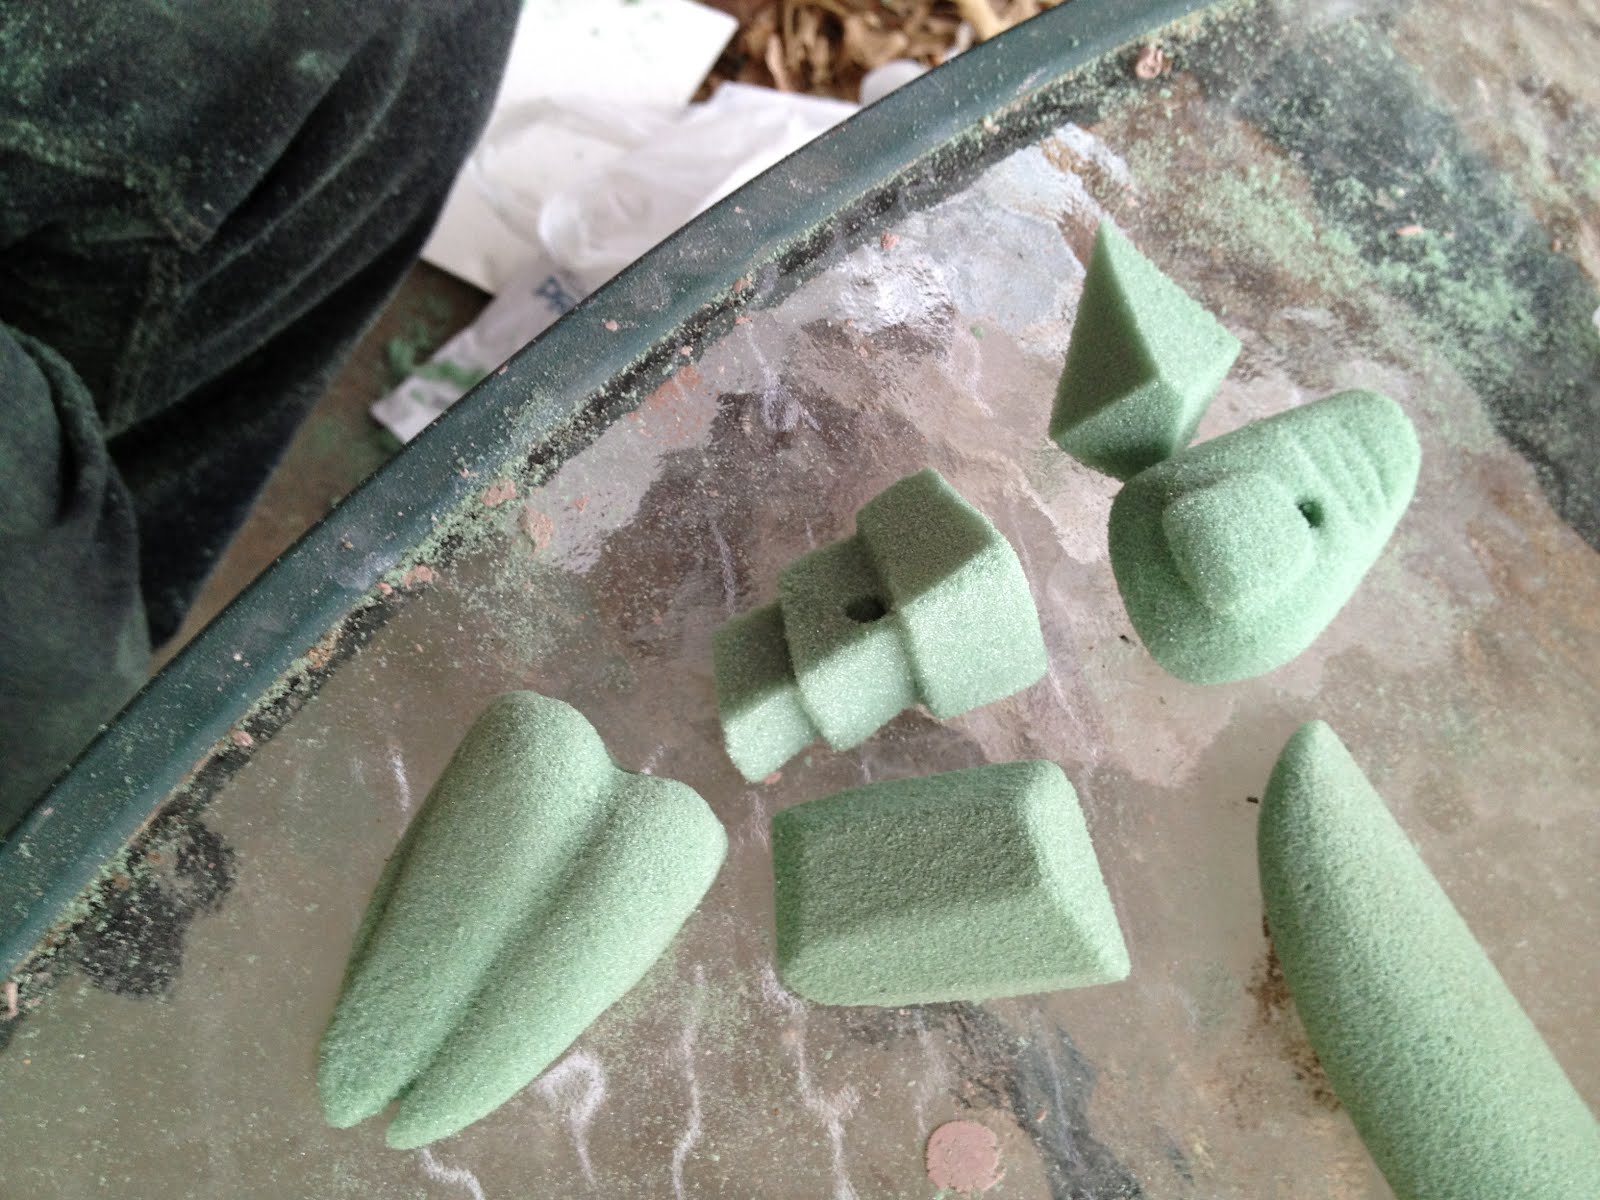
Note: You are looking for "Dry Foam" meant for artificial flowers, not "Wet Foam" meant for real flowers. There are various textures of foam (white tends to be rougher). We prefer the green shown above because it gives a nice finished texture without being painful. It also gives the closest feel to professional holds.
If you would like to make a hold that is larger than a single block, there are various spray adhesives you can buy to stick multiple blocks together. We have used Elmer's Spray Adhesive with some pretty good success. An 11oz bottle will cost about $6 at Walmart or any craft store.

Tools! Because we have an art teacher among us, we used many tools meant for molding clay. They worked awesomely for creating textures, smoothing lines and the like. DO NOT feel like you need to go buy a bunch of specialty tools to cut and shape the foam. Look around you, I'm sure whatever you have within arms reach will work just fine. A paper clip, a pen, a pocket knife, a guitar pick, your finger will work just fine.

Now's the fun part. Just start cutting. If you have a shape in mind, or if you're going to decide as you go, just begin. Think of holds you have used in a gym, or features you've enjoyed on real rock and mimic those shapes. I have enjoyed making holds that mimic body parts: a tongue, a hand, a toe, teeth.
General rules: Any given piece of the foam should be about 1/4" thick for strength. Your back edges (the ones that are up against the wall) should be pretty sharp. Leave a solid flat back to the hold so it has a good amount of surface area in contact with the wall. Make sure you leave enough space for a bolt and washer, or for screws to mount your hold. Negative space (like you would have with a pocket hold) is fine and should mold with little issue.
See more after the jump...
See more after the jump...

Once you have come to a stopping point. Try to get as much of the excess foam shavings and dust off of the foam hold. You can knock the foam against a table or blow on the hold to get it as "clean" as you can.

If you plan to bolt on your hold, you need to make an indent for the bolt in your hold. Do this by pushing a bolt back side first into your hold. Make sure you do not push too far. You want the hold to be at least 1/2" thick behind the bolt and washer. You can make indents for screws as well or wait and screw directly into the resin hold after it has been molded.
Now you're finished with the foam molding! Go take a shower and get all that green crap off of you. Soap and water should be enough to get it off, and your clothes will clean off in the wash just fine.
Stay tuned for part 2 where we make the silicone mold out of our foam hold. Later part 3 will show you how to use the silicone mold to pour a resin climbing hold.

This round of foam holds
Our first round of foam molds
-Jonathan
Spectacular carving skills! It never ceases to amaze me what a simple foam block can be turned into.
ReplyDelete