
Starting supplies for casting a hold
We're so close!
It's time to begin the final stages of creating a homemade climbing hold. In the photo above, you can see the supplies you'll need (minus the sand). You can find the fiberglass resin at any hardware store. It is a liquid that when mixed with the fixer (included with the resin) hardens. It is typically used in boat or car body repair in layers on top of fiberglass sheets. The can above cost us 36 dollars and cast about 30 holds. Of course your mileage will differ based on the size of your holds.
Next to the resin we have acrylic paint. This is one method of adding color to the holds. Another way is by using dyed sand.
Adding about a teaspoon of acrylic paint will give you some pretty good color. We have found that different colors have different drying times. So when using mixed colors- better just leave it to set for extra long to be safe.

For a more vibrant color, you can use dyed sand. This is usually finer and we like the finish of these holds better. It is more costly. A bag of colored sand (found at a hobby store) will be about 5 bucks for a pound. The other fine silica sand we have used on the majority of our holds was 6 bucks for 80 pounds. We have not been able to find white fine grade silica sand locally. This is used in pool filtration systems and may be the best option.

We have also had success adding glitter to make "fancy" holds. Pretty!
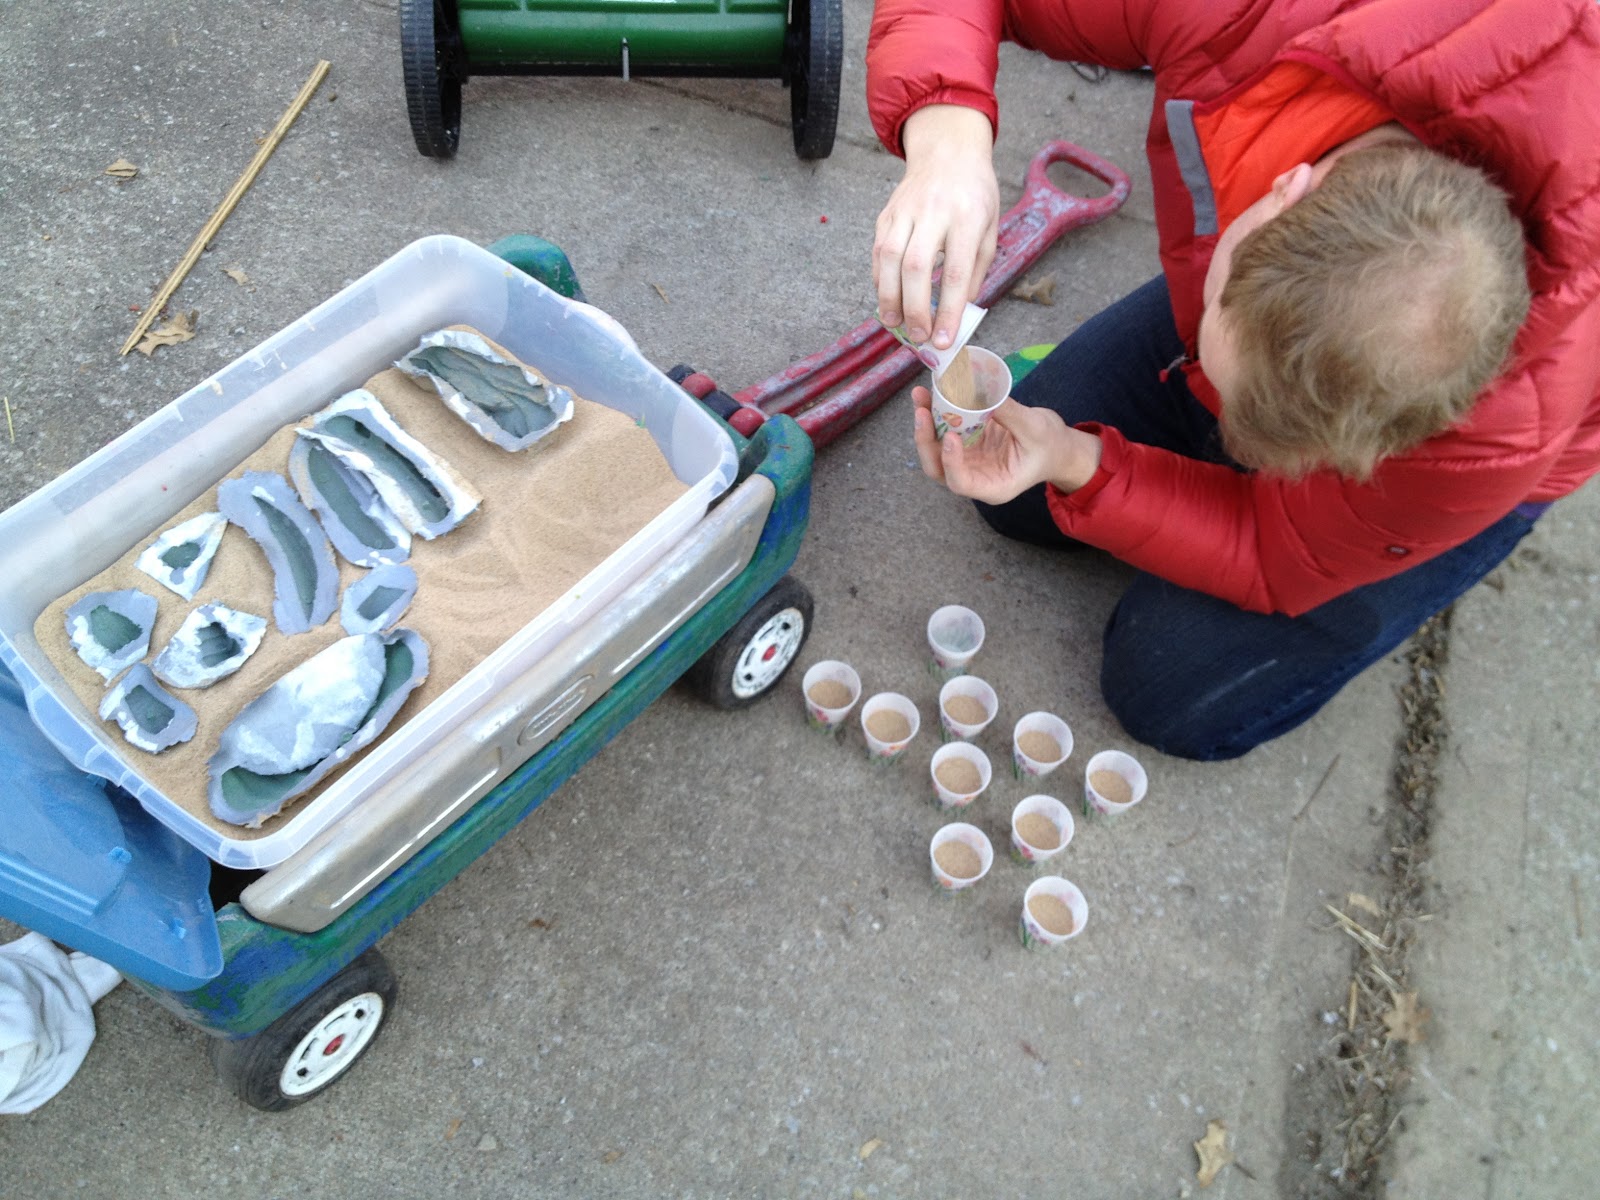
Which ever sand you are using get about 2.5oz in a 5oz Dixie cup. You can measure how much sand a hold will need by filling the mold with sand and then pouring it into the cups. If you follow this method you will end up with a little too much (because of the added volume of resin). You can sort of cheat the amount down maybe 20%. None of this is an exact science, so don't sweat over the measurements. We typically have extra small foot holds that we use any left over mixture in so we don't waste it. Hopefully our pictures will help.

Now you can add the resin into the cup. We try to add 50:50 sand and resin. We use the artwork on the cups as measurements to stay consistent from cup to cup.
Note: the sand is actually not giving the hold its texture. It is merely a filler for the resin.This saves on the cost of resin and can give color if dyed.

Now add the fixer. The resin can has instructions that will give you the proportions if you want to be exact. With our cups, we add 30 drops of fixer into each cup. More fixer = quicker setup time. Once you've added the fixer, the reaction is not very fast. You should have 10 or more minutes to mix and pour before you should worry. The complete set up time will take days, so no rush.

After all of the ingredients are in the cup, take a craft stick and mix it up. For this mixture we were using colored sand and no paint or glitter.
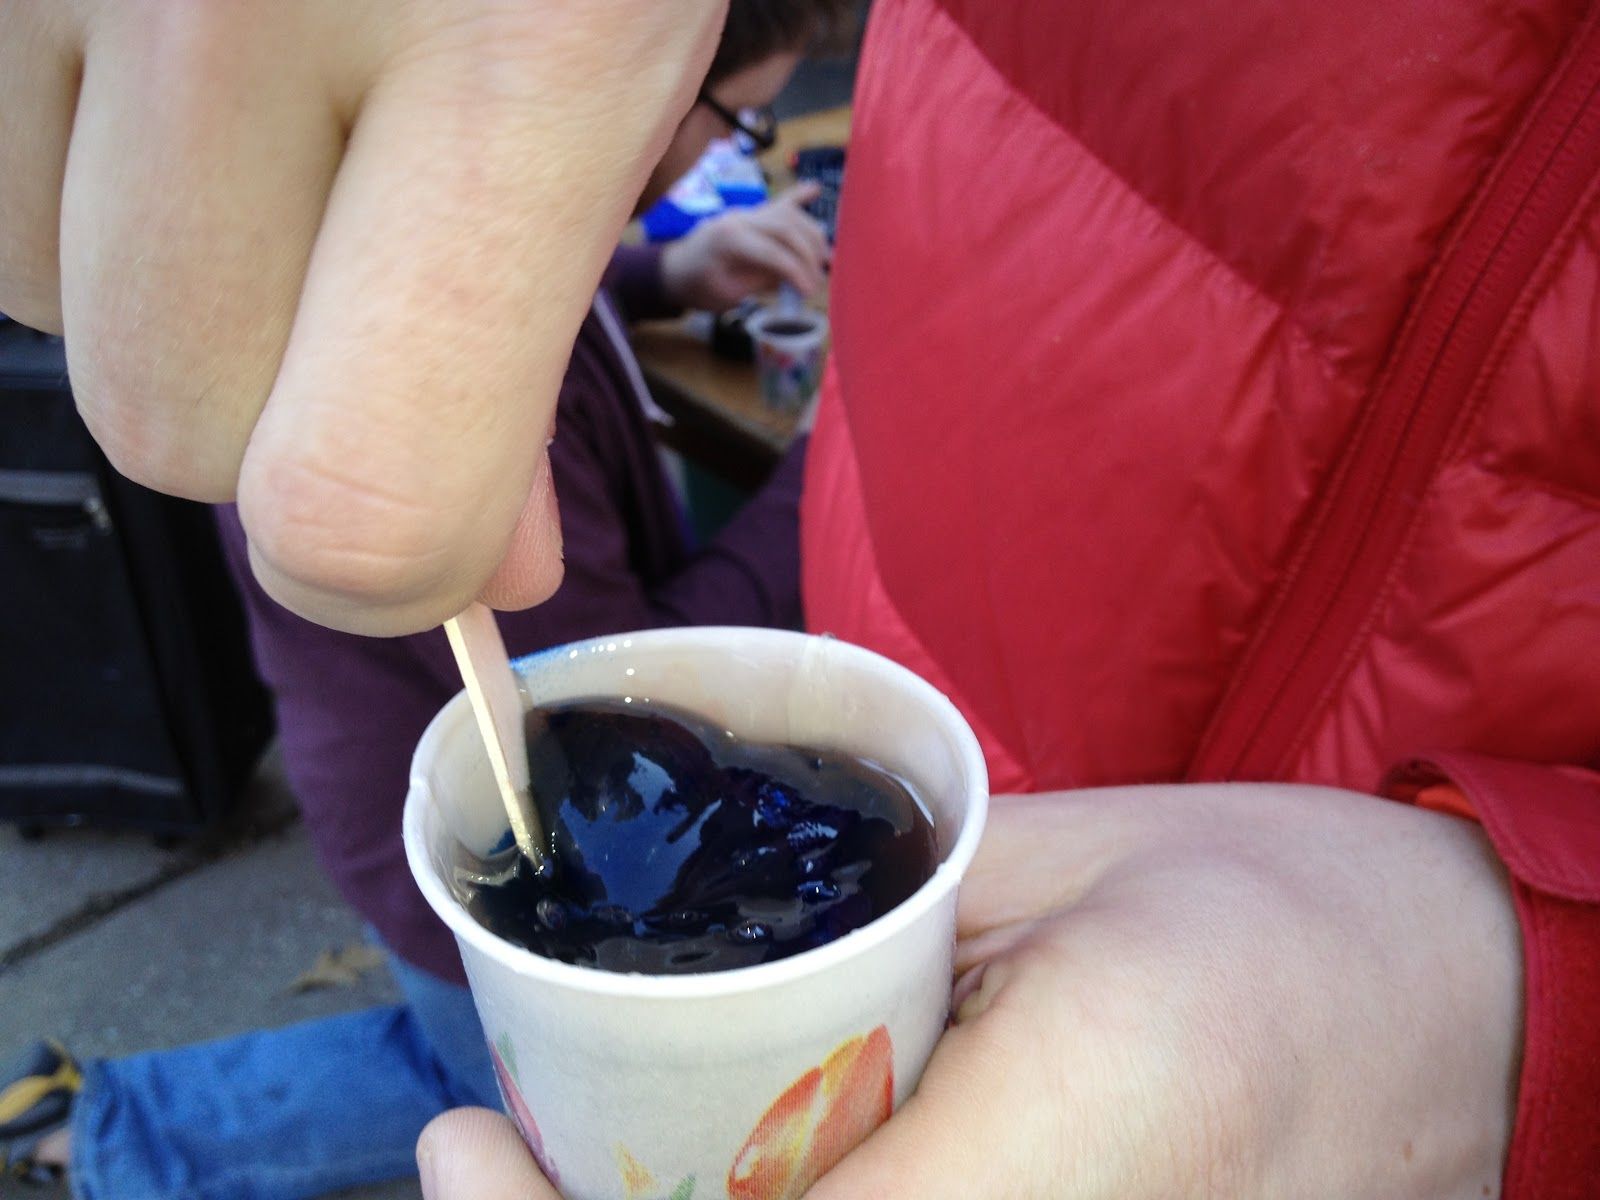


The final texture should be sort of close to pancake batter. It should still be able to pour, but not too quickly.
Before I forget to mention, we have set our molds in a Rubbermaid container filled with the same silica sand we are using in our holds. This supports the molds and keeps them from deforming once the resin mixture is poured in. It also allows us to keep the back of the mold level so the mixture sits evenly while drying.

If your finished hold will use a traditional 3/8" bolt, you need to put in a 3/8" washer to reinforce where the bolt will go in. Do this before pouring the mixture so that the washer will become a permanent part of the hold. If you are screwing on your hold, this step is not necessary.
You can now pour in your resin mixture. The craft stick is good for scraping out all of the remaining resin.

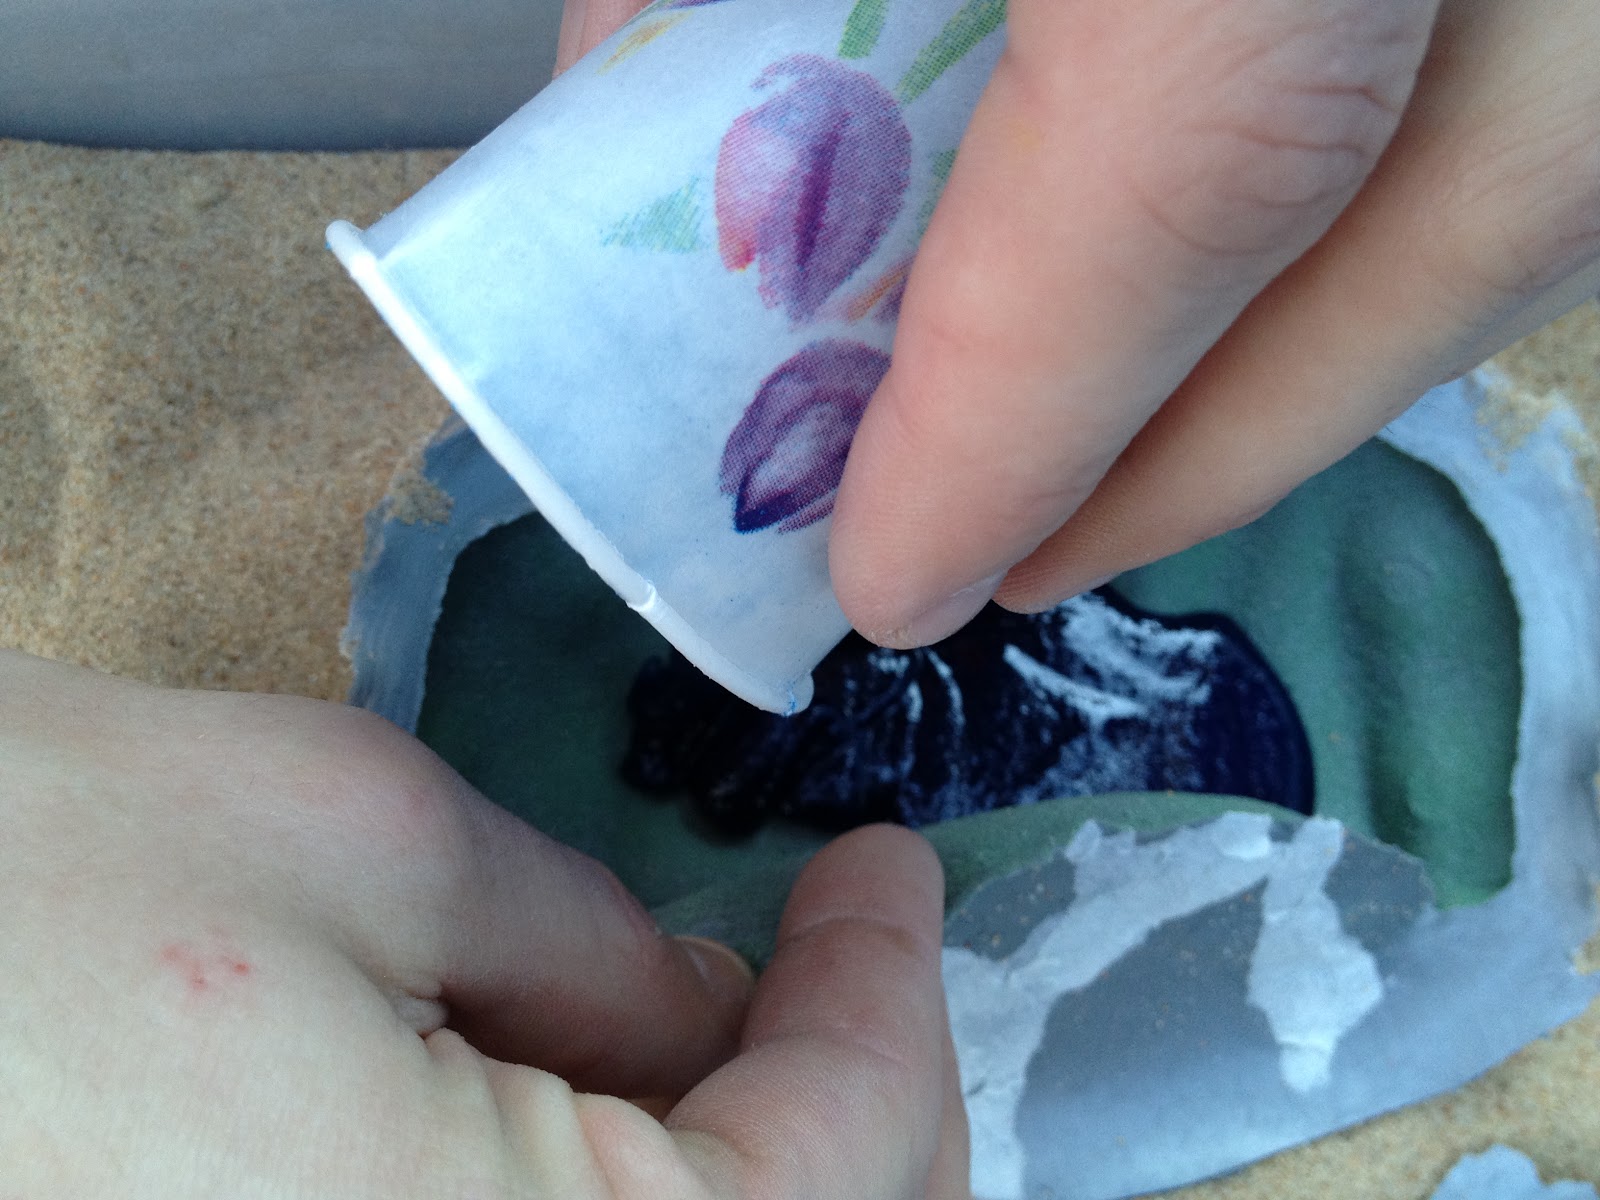


Stop once the mixture reaches the top of the mold. Keeping the resin off of the flange is a good goal, but not that important. You will be able to sand off any extra resin mixture to give you the flat back you need.
Here are more photos of another hold we poured. This time we used regular sand with paint and glitter. Yay!


Here we poured the extra resin mixture into a foot hold we had ready.

Here are all of the holds we poured this round.
Now give the holds plenty of drying time. I believe the resin can says it will take 2 weeks to come to its finished hardness. Smaller holds will take less time. We try to let the holds sit for 48 hours before taking them out. If they're tacky when you pull them out, let them sit even longer before using them on a wall.
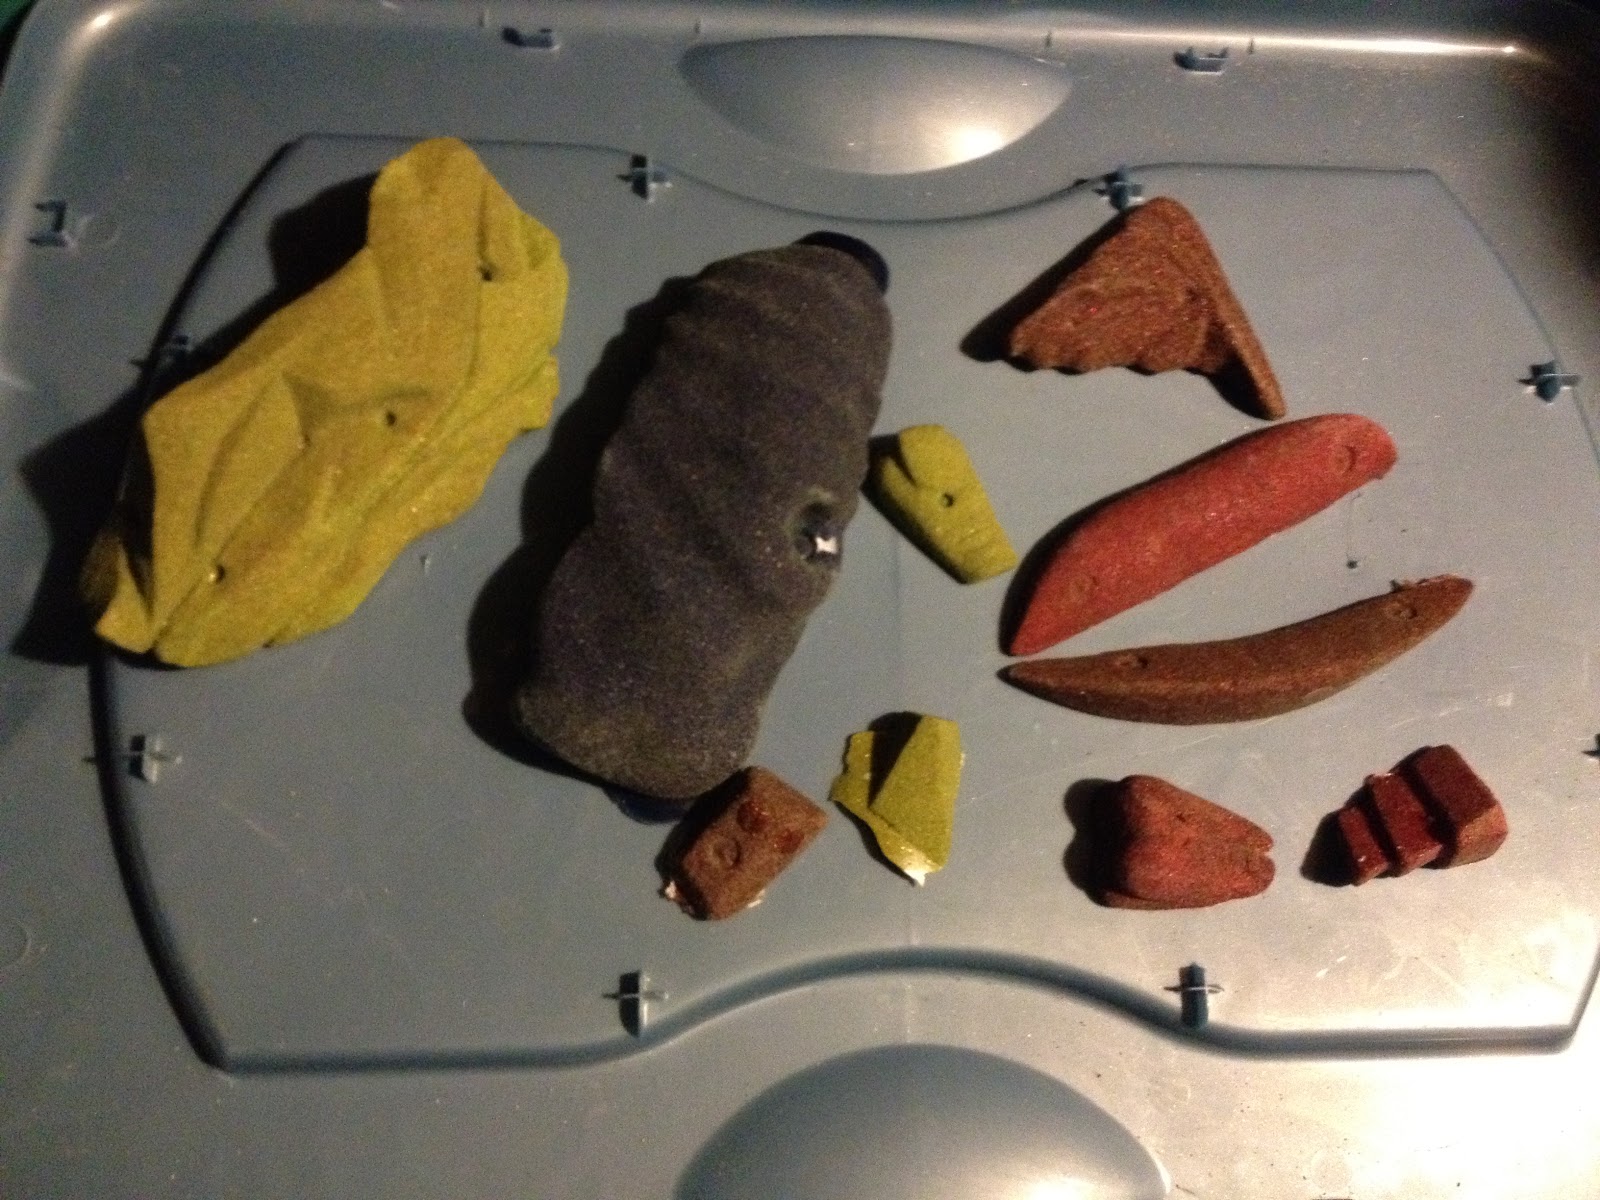
Once they're ready to pull out, start around the flange and pull the silicone back from the hold. Remember the silicone is pretty flexible so you can pull it inside out if that helps getting the hold out.


Now you have a hold! Aren't you a proud parent! Just a few more steps I promise.

You'll notice that the back of the holds isn't exactly flat. There is probably run over, or the resin is taller on the sides. Whatever the case, we need to make the hold flat on the back. We have found that sanding the holds against the concrete driveway works well to get the flat back. I suppose sand paper would work as well, but the concrete helps to make sure the hold is flat across the back and you're not sanding one side more than another.


Now that our holds are nice and flat across the back, we need to drill out the holes in order to mount them.
We have been using masonry bits intended for stone. You might be able to get a wood bit to work, but it will probably dull quickly.


After drilling through with the appropriate bit (3/8" if a bolt) we then countersink the holes with a larger drill. this lets the bolt or screw sit flush with the hold. Don't countersink to deep to compromise the strength of the hold.


Making sure the screw is flush with the hold.
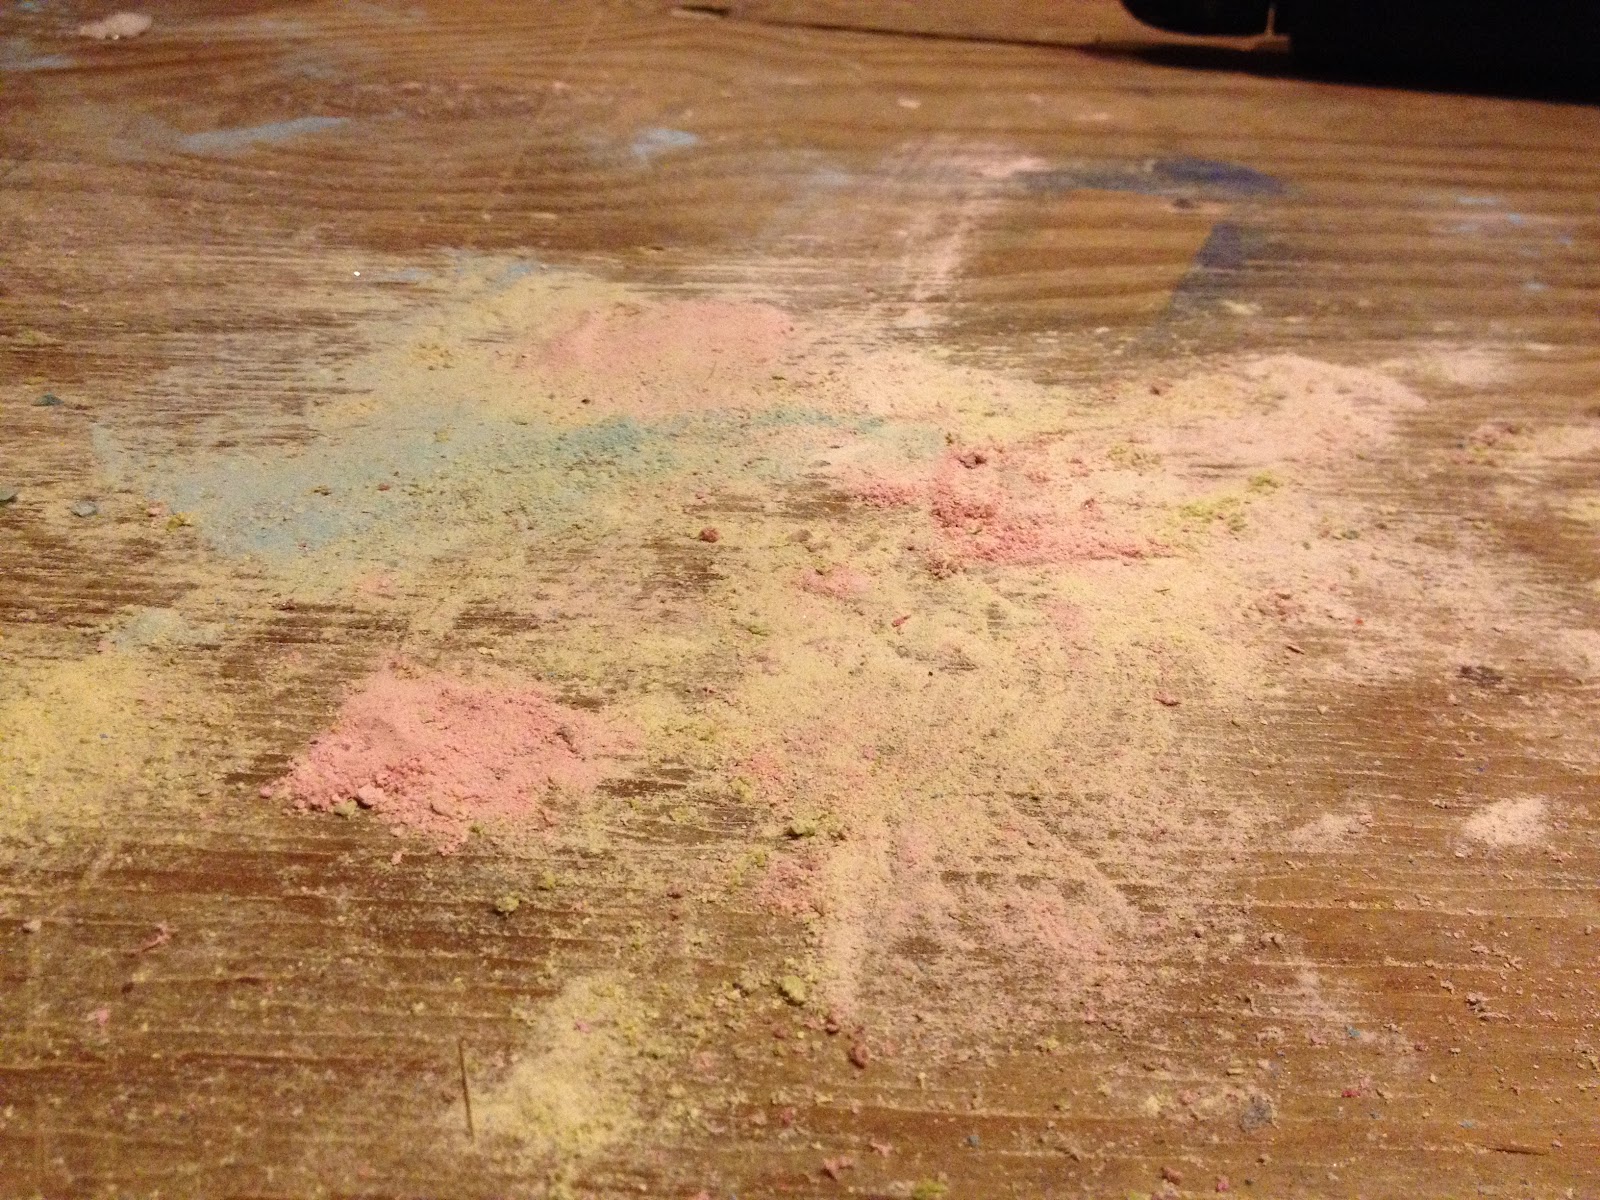
Our hold drilling mess, how pretty!

Finished holds after sanding and drilling

Brushing off any extra dust with an old tooth brush


If at all possible, let the hold sit for a full week or more before using. This ensures the hold has reached its finished strength and won't flex or crack on you. We have broken holds by putting them on our wall too quickly. Fair warning!
You're done!
Congrats!
Go show it off.
Can you believe these finished holds cost you less than 5 bucks per hold (give or take)?
Let us know if you have any questions with the process, or think we've left something out. We're not perfect.
Also, feel free to share our how-to with others. We thoroughly enjoyed learning how to do this and creating our own holds. We would love others to learn and enjoy. Please share photos with us of your creations. We'd love to see and hear about your creations.
If you would like to see more of our finished holds, visit our hold page.
If you missed part 1 where we made the hold out of foam, or part 2 where we made the silicone mold- feel free to jump back and review.
-Jonathan
So I'm not a stranger to fiberglass resin, however in two attempts when mixing it with sand I havent been able to get it to harden in the mold,do u have any suggestions? We have been using play sand, is that possibly too thick? Thanks!
ReplyDeleteTry using more hardner that should help
ReplyDeleteYou dudes are setting up Bondo without a respirator? Bondo is carcinogenic man - get a mask, please!
ReplyDeleteAfter doing extensive research on DIY climbing holds, I found that the process and materials you're using could be better.
ReplyDeletePourable Silicone mix would save you A LOT of time and materials, instead of painting layer(and waiting) upon layer of the silicone and Naphtha. You would eliminate the need for the Naphtha and cheesecloth.
Any experienced climbing hold company out there would say that Bondo Resin and a sand filler is probably the worst possible combination to use when casting a hold. Overall, they're very brittle and unsafe.
Finally, if you did your research, you would have realized that a respirator would be a smart thing to have handy.
Your 100% correct on the silicone and respirator. But as far as the brittleness of using bondo…….. you couldn’t be more wrong. A lot of my holds ranging from small chips and footholds to giant sloppers and jugs I’ve made using Bondo resin and craft sand mixture (sometimes quartz sand) and I have only ever had one break (due to my own impatience and bolting it the wall too early ). It deff takes some experimenting and actually experience working with materials like this. Research is a must but without any experience your just hypothesizing. Cheers ego maniac!!!
DeleteIf anyone would like to know the way and materials that should be used I'd be glad to help. Using Bondo is dangerous, the mixture of resin needs to be right down to the gram or the hold could fail and put you in the hospital. (Not so cheap holds anymore.) The professional materials can be alittle steep, but if you sell a few off to your buddies then the cost is manageable. Check out meuseclimbingholds.com and see if you my method creates holds that suit you. If so I can answer some of the basics and get you started.
ReplyDeleteI want to know he way and materials that should be used. Help me please. moloshykroman@gmail.com
ReplyDeleteCasinos Near Me - Atlantic City, NJ - MapYRO
ReplyDeleteWith more than 7,000 고양 출장마사지 slot machines, 16 서귀포 출장샵 table games, 강릉 출장마사지 and a full casino at Borgata Hotel Casino & Spa, 이천 출장안마 this waterfront resort is the perfect place to 경산 출장마사지 get